Curving text in Snapied is easy with our step-by-step guide. Learn how to add and customize curve text to make stunning designs. Try it now!
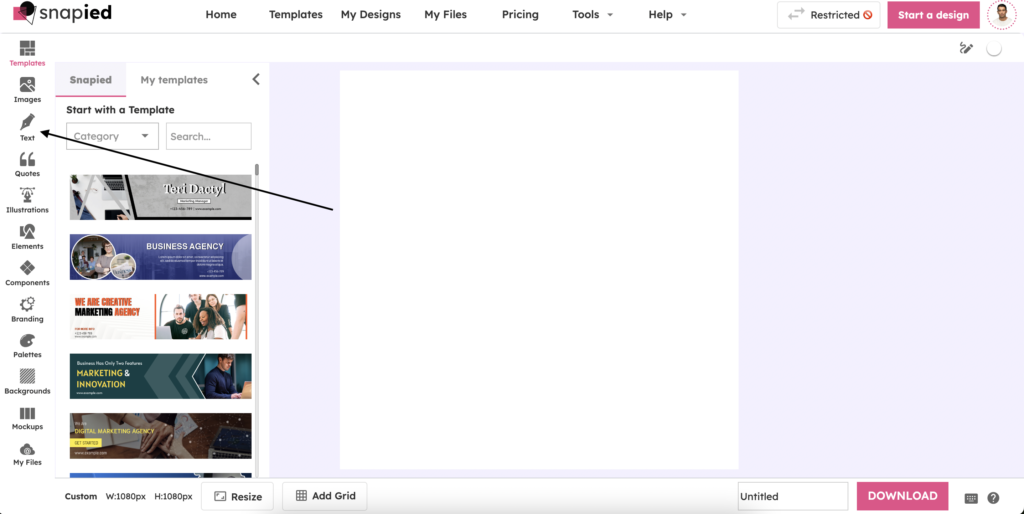
Step 1: Access the Text Control
Access the Text Control Firstly, open the Snapied editor and locate the left navigation bar. You will see the Text Control button with the word ‘Text’ on it. Or follow how to add and edit text article.
Step 2: Add Curve Text
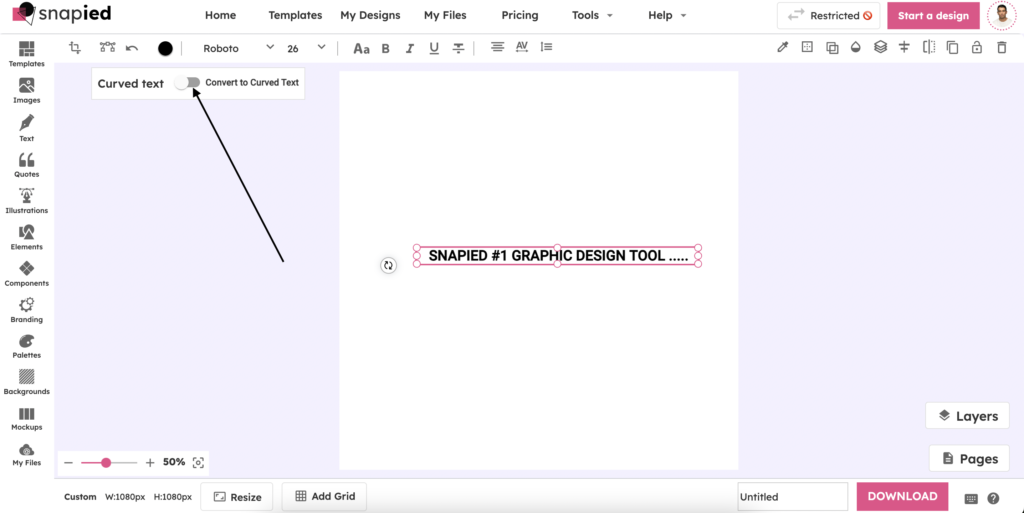
Add Curve Text Once you have added the text layer, you will see the options to edit your text in the top header panel.
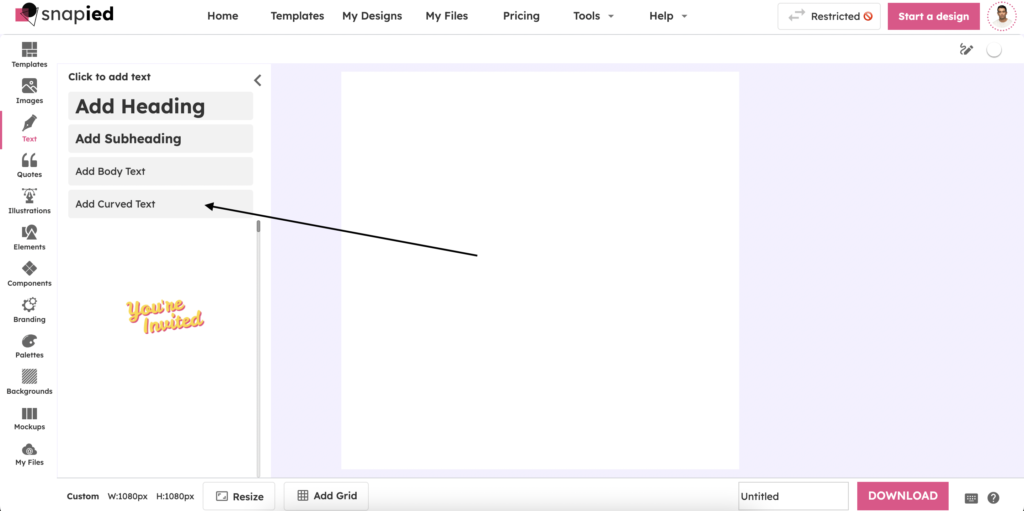
Locate the ‘Curve Text’ option and click on it. This will enable the curve text mode for your text layer.
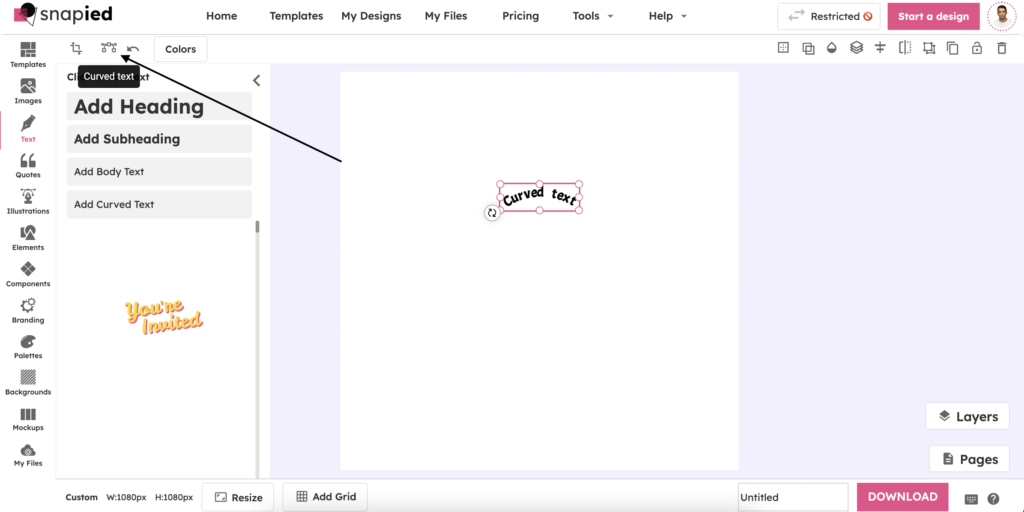
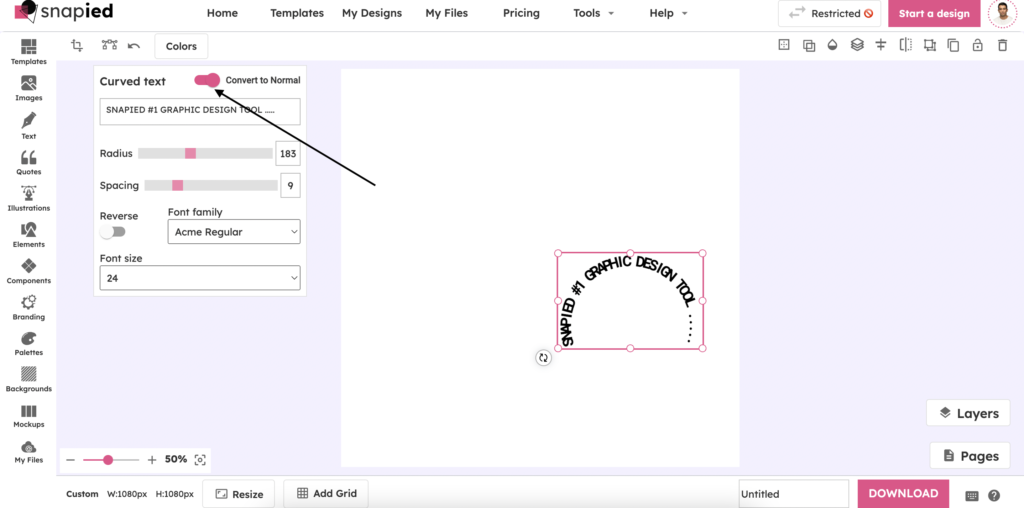
Step 3: Adjust Curve Text Settings
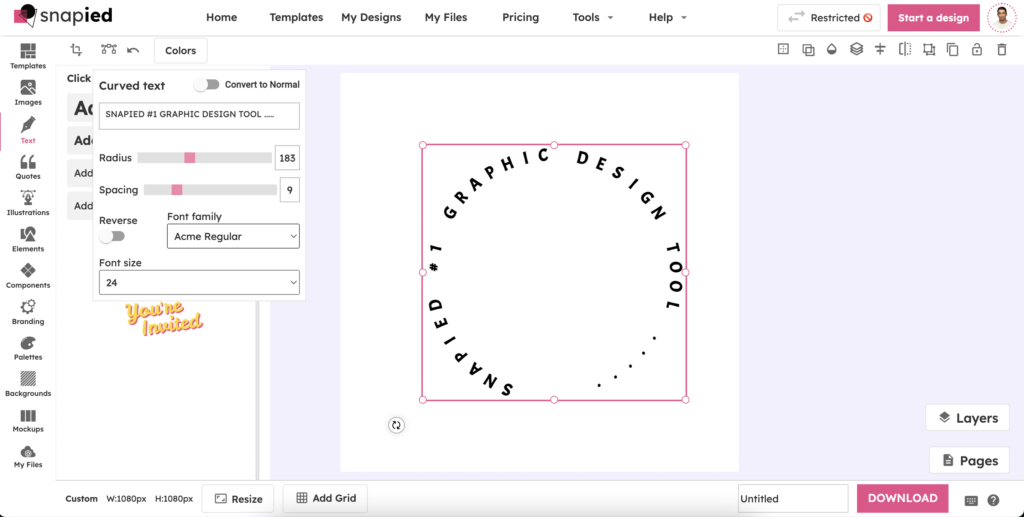
Adjust Curve Text Settings Next, go to the header toolbar and click on the ‘Curve Text’ icon. This will open a popup with options to adjust the radius, spacing, font size, font family, and flip the text. Use these options to customize the curve text according to your preference.
Step 4: Convert Normal Text to Curve Text
Convert Normal Text to Curve Text Alternatively, you can also convert any normal text layer to curve text by selecting the layer and clicking on the ‘Curve Text’ button. This will enable the curve text mode for the selected text layer.
Step 5: Edit or Convert Curve Text to Normal Text
Edit or Convert Curve Text to Normal Text You can always edit your curve text by selecting the text layer and adjusting the settings in the popup. If you want to convert your curve text back to normal text, simply click on the ‘Convert to Normal Text’ button in the right panel.
Congratulations! You have successfully learned how to curve text in Snapied. Now, go ahead and create stunning designs with curved text in your projects.